Home
Products
CEILING
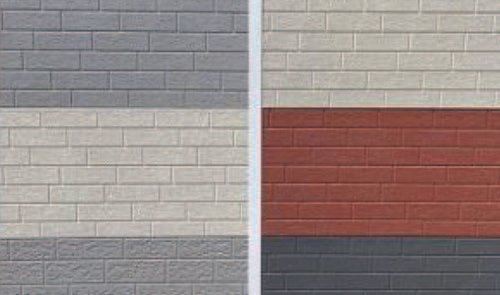
WALLS
Installation
Application
FAQs
Contact Us
1300 177 545
Installation Guide
STEP 1
Complete the framework
Attach battens, noggins or metal furring strips for support, ensuring they are level and evenly spaced (450mm or 600mm spacing is recomended).
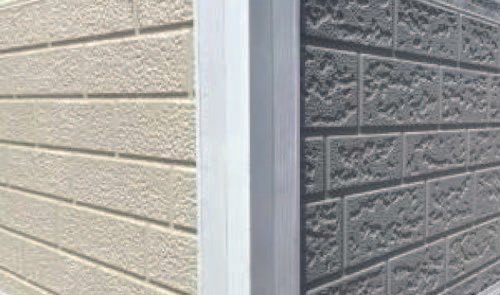
Attach the starter/ side channel if necessary.
STEP 2
Measure the cladding panels to fit the installation area.
Use appropriate tools (e.g., angle grinder or a circular saw with a metal blade) to cut panels as required.
STEP 3
Tongue & groove system- start from one corner or bottom edge.
Fix the first panel using screws or nails. The screws to go through the tongue of the panel (it is recomended to fix a screw every 600mm).
Then align the groove of the second panel with the tongue of the first panel.
STEP 4
Place each new panel tightly against the previous one.
Ensure proper interlocking of both panels (tongue-and-groove system).
Continue fixing panels securely while checking alignment.
Seal joints and edges if required.
STEP 5
Apply sealant or flashing where necessary to prevent water penetration and for a better finish.
Cover exposed edges with trims or angles for a finished look.
Ensure the core insulation is not exposed to water for durability.